


The ULTIMATE guide to making your own skincare AT HOME: Start with Double Cleansing!

You hear it all the time, if you want healthy skin you need to focus on your overall wellness and how what you put into your body affects your skin, which is 100 percent true, but it is also important to take notice of what you are putting on your skin that could be affecting you internally. Your skin is the largest organ of your body and since it is porous, it absorbs what you put on it. This was the main reason I switched over and started making my own skincare products at home. Yes, I want healthy, glowy, beautiful skin, but what I don’t want is the chemicals and ingredients I can’t pronounce in many skincare products that are potential hormone disruptors being absorbed into my body and potentially causing other issues.
recently shared the non-BS guide to holistic skincare and includes some great nontoxic skincare brands, but if you are interested in learning how to make your own skincare AT HOME and knowing exactly what is going on your skin keep reading :)I’m having to split this up into multiple parts because as you may know there are a lot of skincare products out there and since I am going into detail on which ingredients are best for different skin types and sharing a few DIY recipes, this post would be very long so for today we are just covering double cleansing (face oil & cleansing bar)
why double cleanse??
The double cleansing method involves 2 steps to cleaner and clearer skin. Yes, this involves washing your face twice, but the extra step does provide some extra benefits!
Step 1: Oil Cleanser - The skin loves oils! Especially if you already have oily skin. Using this first step of oil cleansing, the oil used to cleanse the skin helps to remove the excess oil and sebum from the skin. It also helps to remove makeup, sunscreen and minimize build up on the skin without over drying. Oils not only provide wonderful moisture, they are filled with vitamins and antioxidants that protect and feed the skin.
Step 2: The True Cleanse - This helps eliminate any leftover residue, dirt and sweat. Using a gentle foaming cleanser can help to detoxify the skin without stripping the skin.
how to make your own oil cleanser
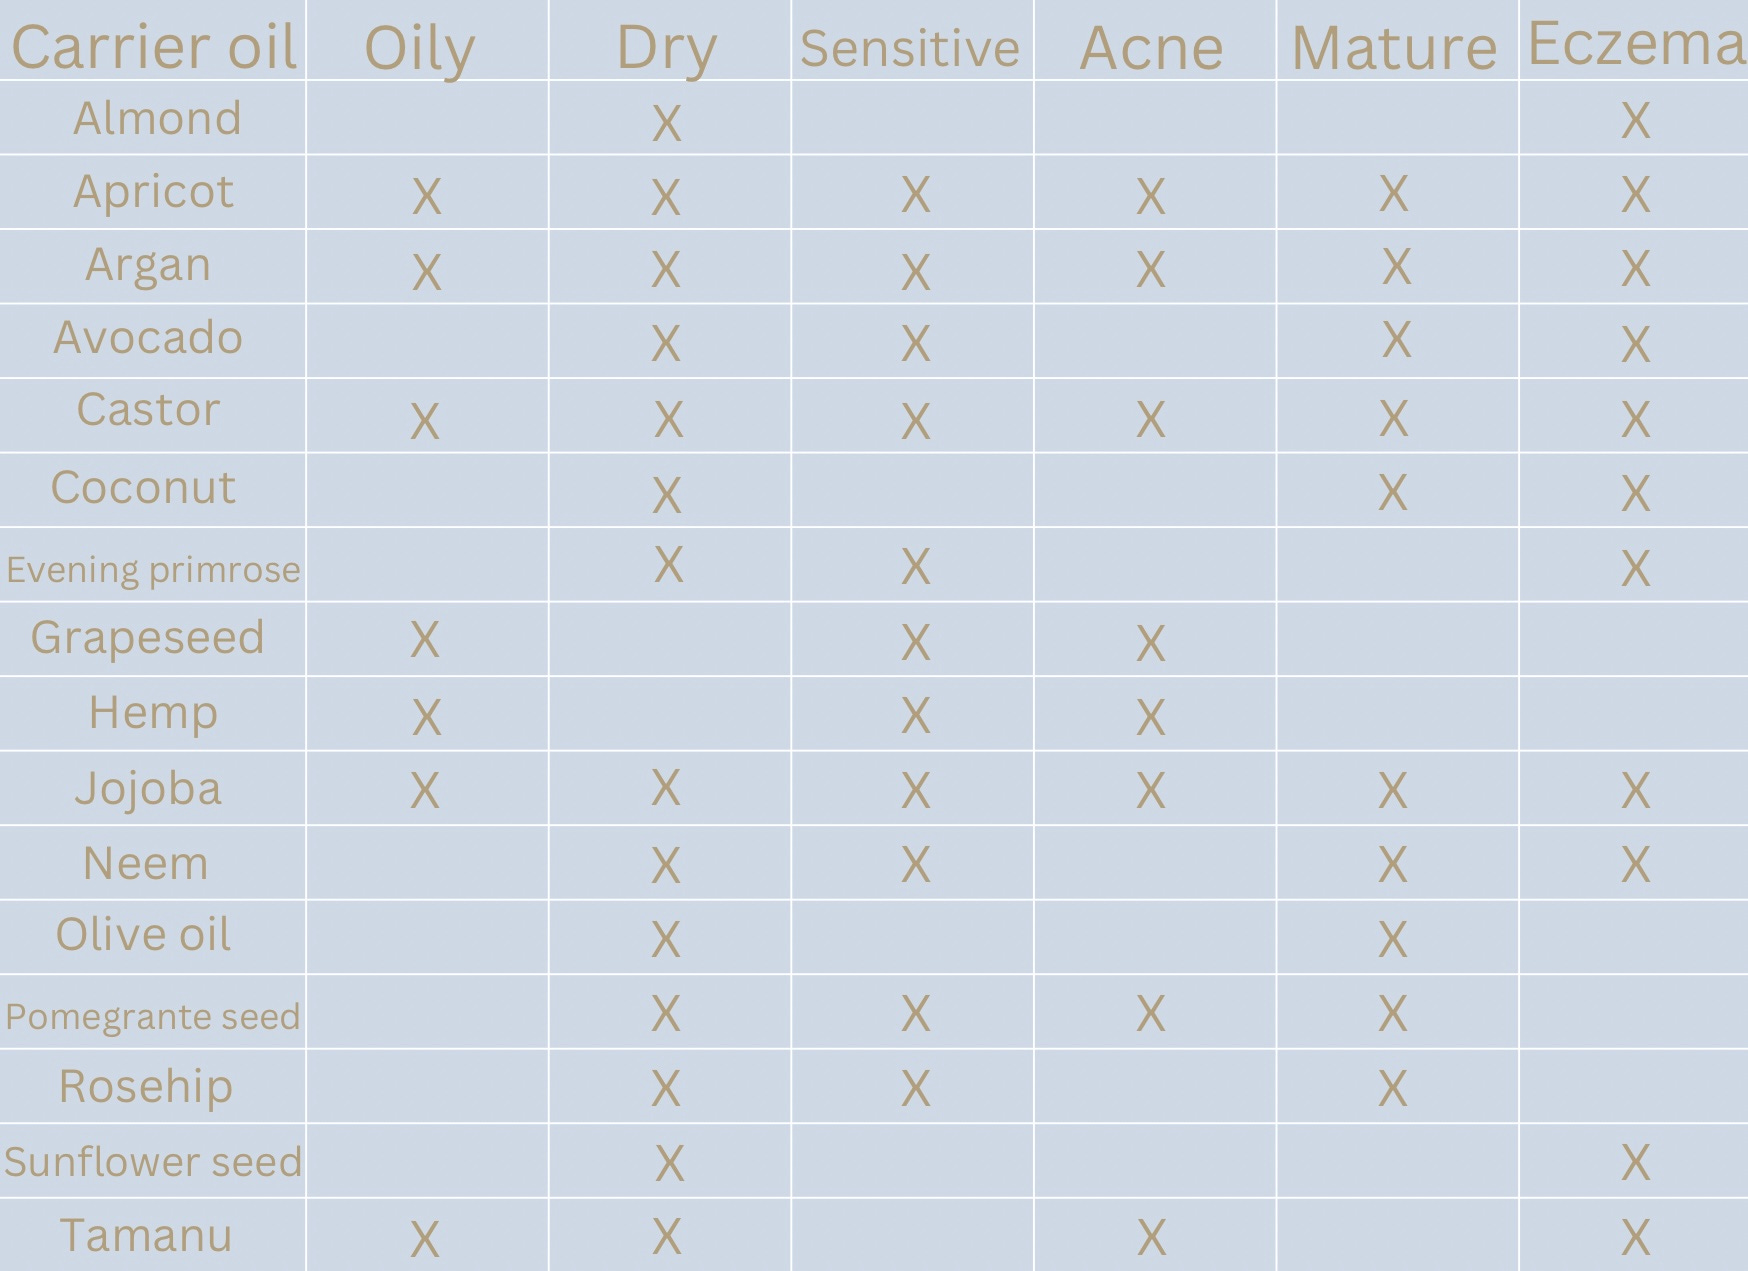
1. Choose your carrier oils
A carrier oil is a neutral oil with little to no scent that is used to dilute essential oils and “carry” them to the skin. Carrier oils are derived from vegetables, seeds, nuts, or kernels and generally contain fat-soluble vitamins, minerals, antioxidants and other nutrients that improve the look and feel of skin by adding moisture and soothing irritation.
2. Choose your essential oils
Essential oils are compounds extracted from plants and often used in aromatherapy, a form of alternative medicine that attributes healing effects from plants extracts to support health and wellbeing. Essential oils are generally safe when used to correctly. It is important to always dilute essential oils before applying them to the skin to avoid skin irritation and reactions.
Sample recipes for each skin type
The base of the cleansing oil should be an oil with cleansing and antibacterial properties such as castor oil. If you have oily or normal skin, 30% of your mixture can be castor oil. Use less if you have dry skin or if you have extremely dry or very sensitive skin, you can use a small amount of coconut oil instead.
The remaining 70% of the mixture can be split up between 2-3 of the oils that work best for your skin type.
If you have very sensitive skin, you can skip the essential oils. Otherwise, choose 1-2 essential oils that work best for your skin type. Don’t add more than 8 drops of essential oils total for a 2oz bottle.
*These are just sample recipes. You can try any combination of the carrier oils and essential oils that are best for your skin type!
Oily skin
30% castor oil
50% grapeseed oil
20% jojoba oil
3 drops of geranium
3 drops of lavender
Dry skin
10% castor oil
30% avocado oil
30% sunflower seed oil
30% jojoba oil
3 drops of lavender
3 drops of patchouli
Sensitive skin
20% castor oil
50% avocado oil
30% evening primrose oil
3 drops lavender
Acne prone skin
20% castor oil
30% jojoba oil
30% grapeseed
20% tamanu
3 drops lavender
3 drops tea tree oil
Mature skin
20% castor oil
30% rosehip oil
30% argan oil
20% pomegranate seed oil
3 drops geranium
Irritated skin (eczema/psoriasis)
20% castor oil
30% jojoba oil
30% avocado oil
20% even primrose oil
3 drops of lavender
3. How to store your products
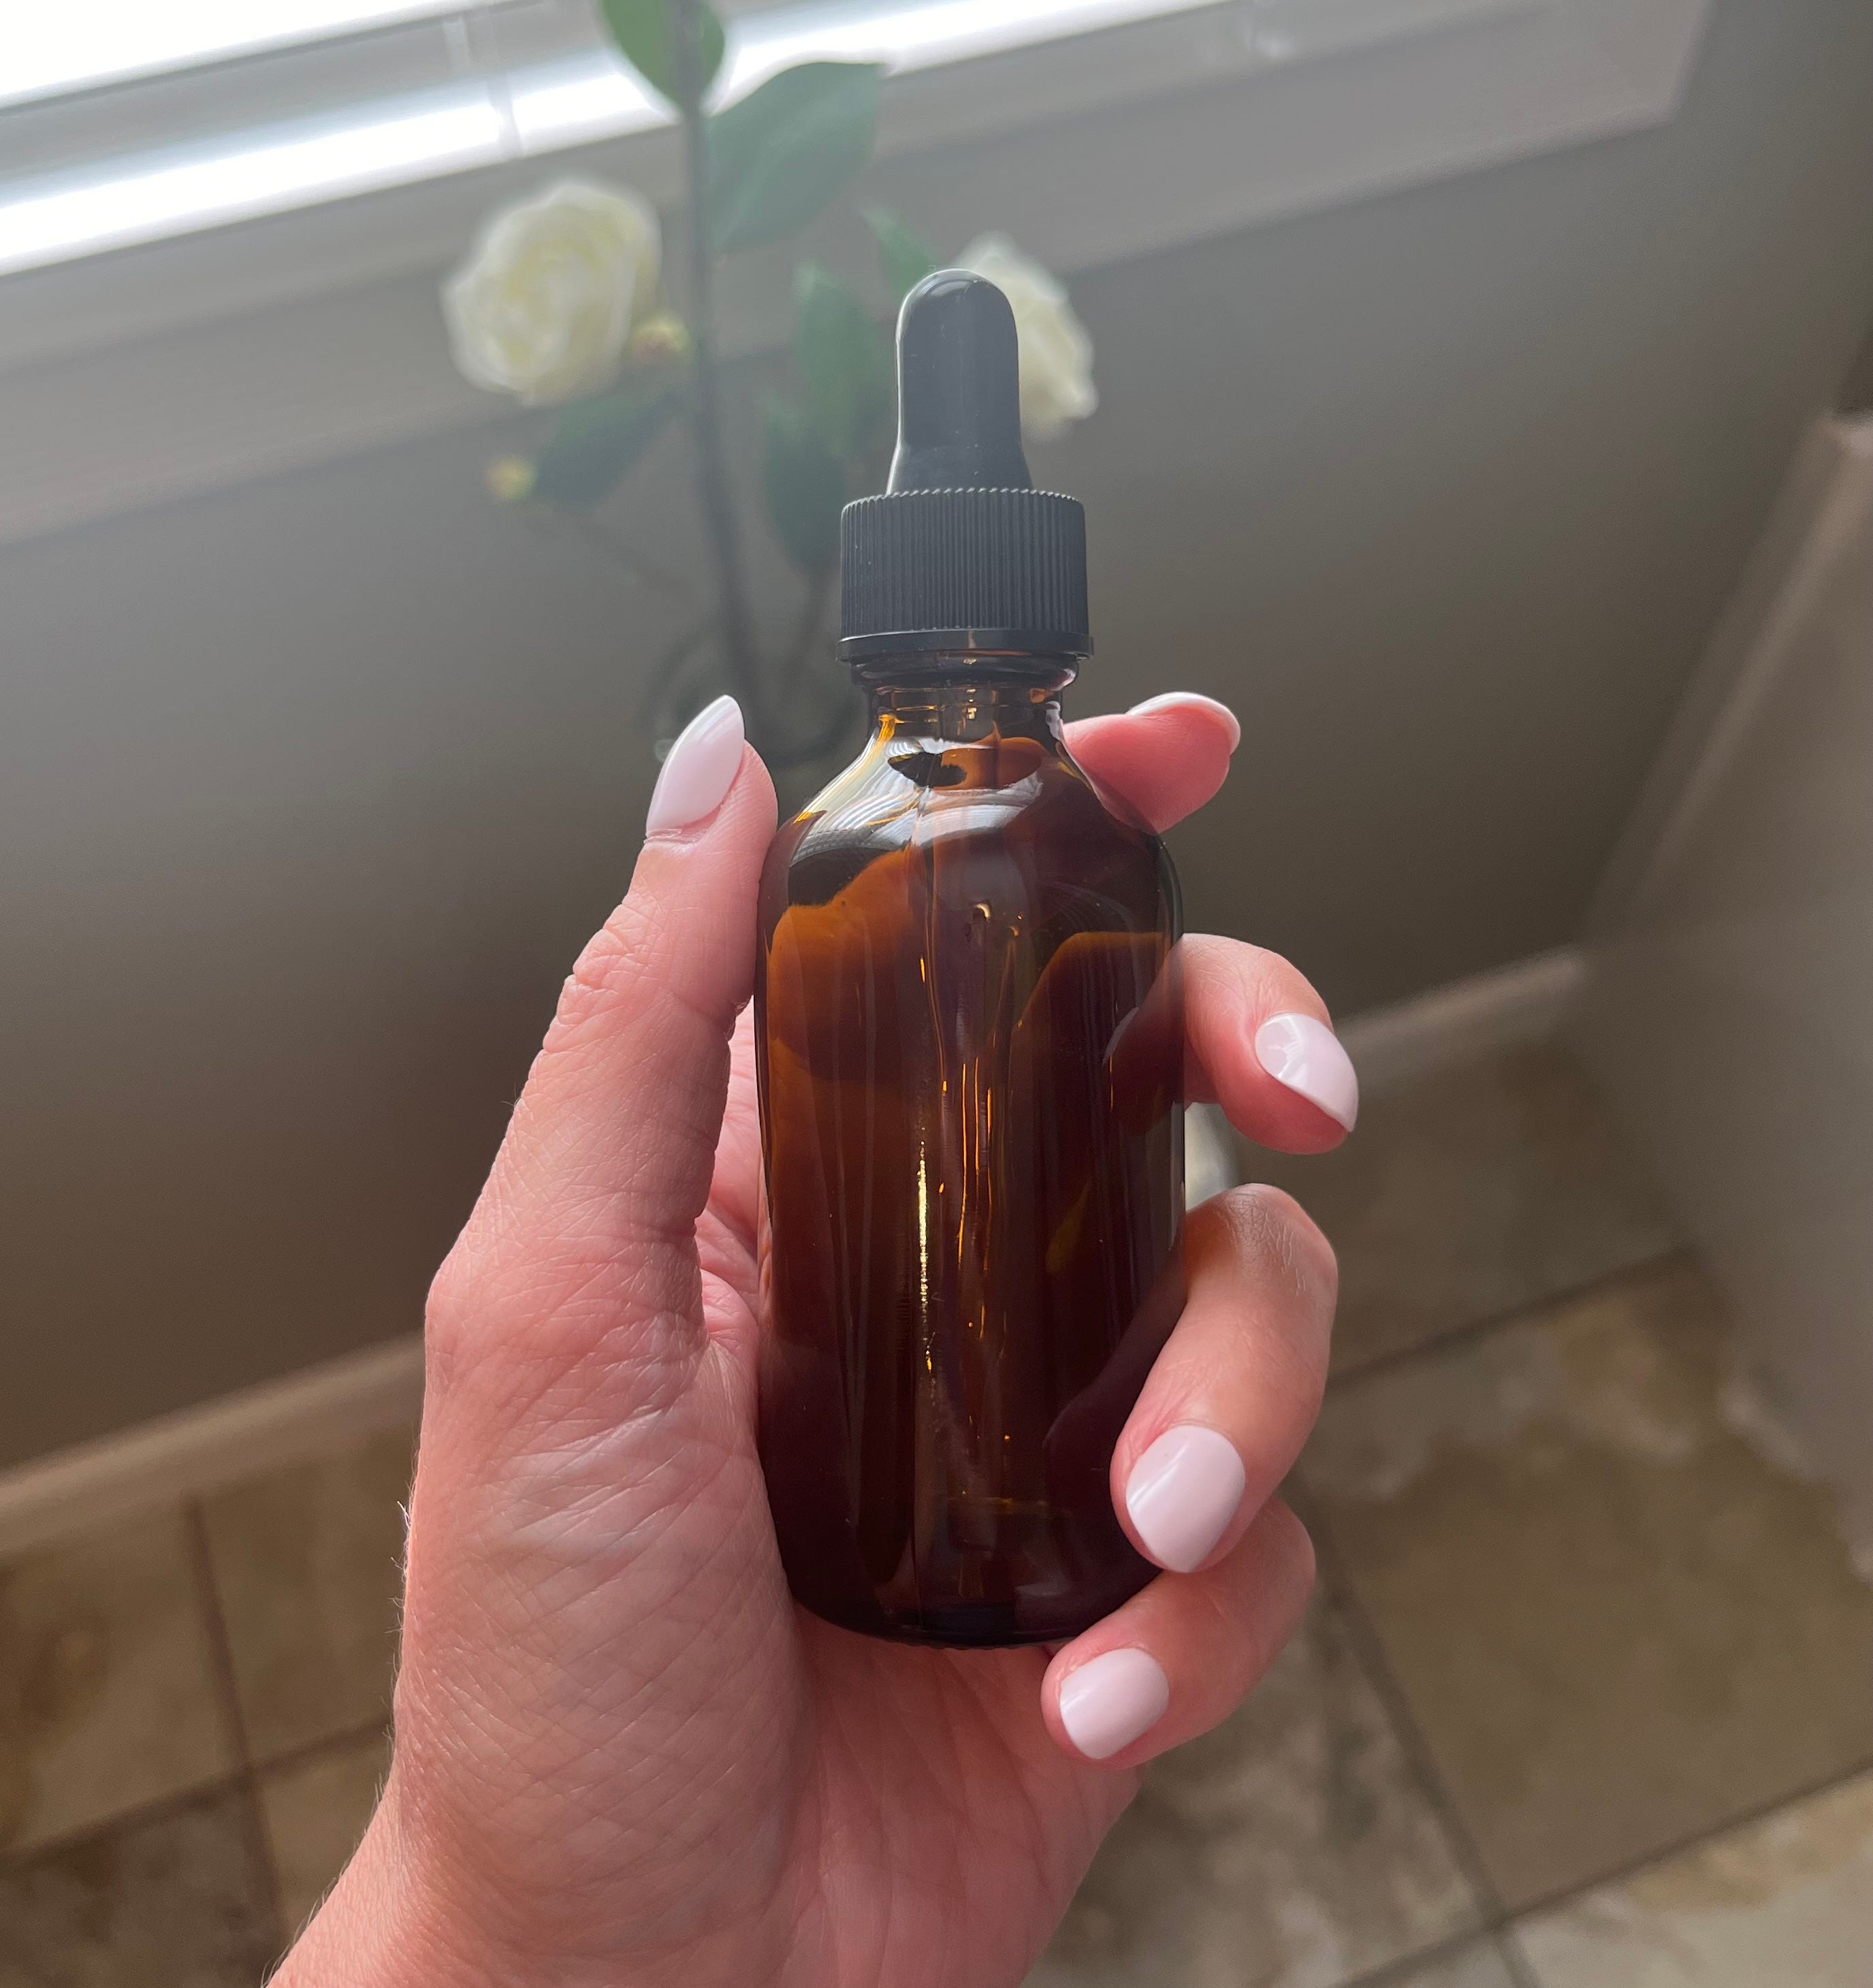
I definitely recommend storing your homemade skincare products in a glass bottle. I use these amber glass dropper bottles because amber (and cobalt) provide more protection compared to clear glass in terms of light damage that can negatively impact of the quality of a product. Before storing, make sure the bottles are cleaned, sterilized, and completely dried. Wash your hands and any other utensils that will be used to avoid introducing bacteria into the product that will shorten the shelf life.
*Since the homemade oil-based cleanser does not contain any preservatives, the shelf life will be shorter than store bought products. Use within 6-9 months (as long as it is stored correctly) or make small batches as needed to ensure you are using the freshest ingredients on your skin.
* Water-based products will have a much shorter shelf life than oil-based ones because water breeds life. The oil-based cleanser does not include any water-soluble ingredients, but keep this is mind for when you are making and using. Try your best to avoid getting any water into the bottle.
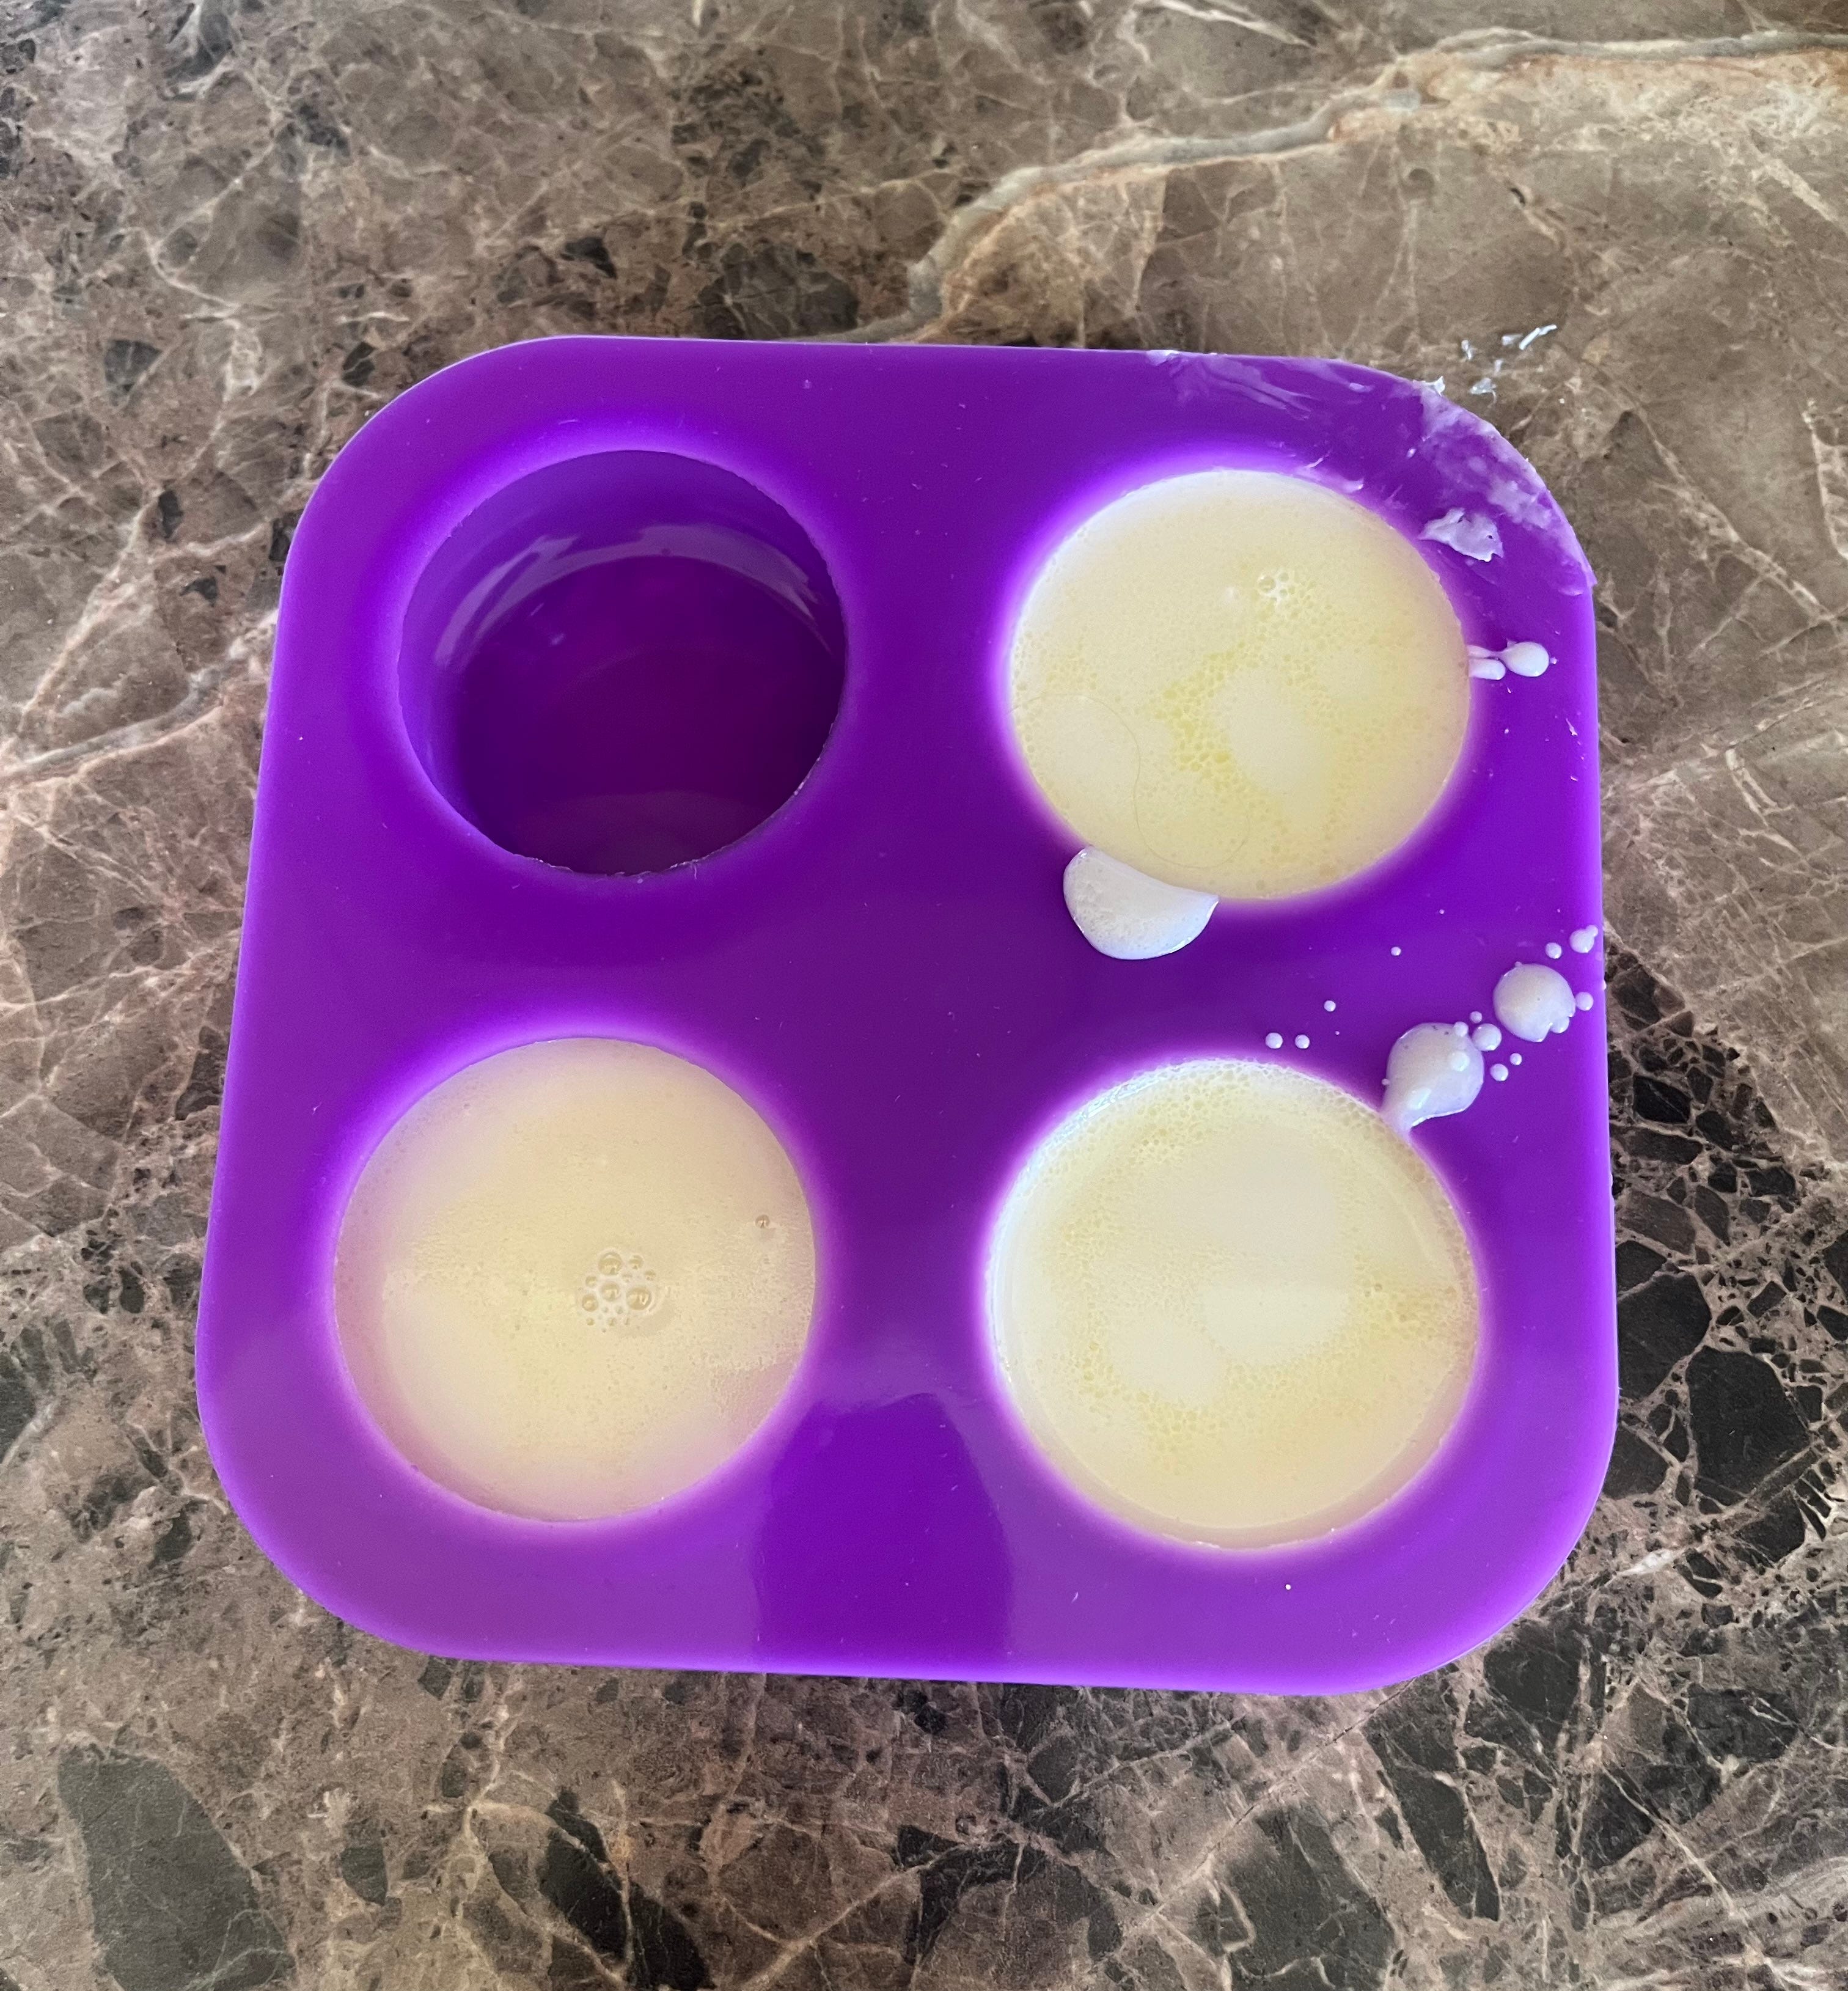
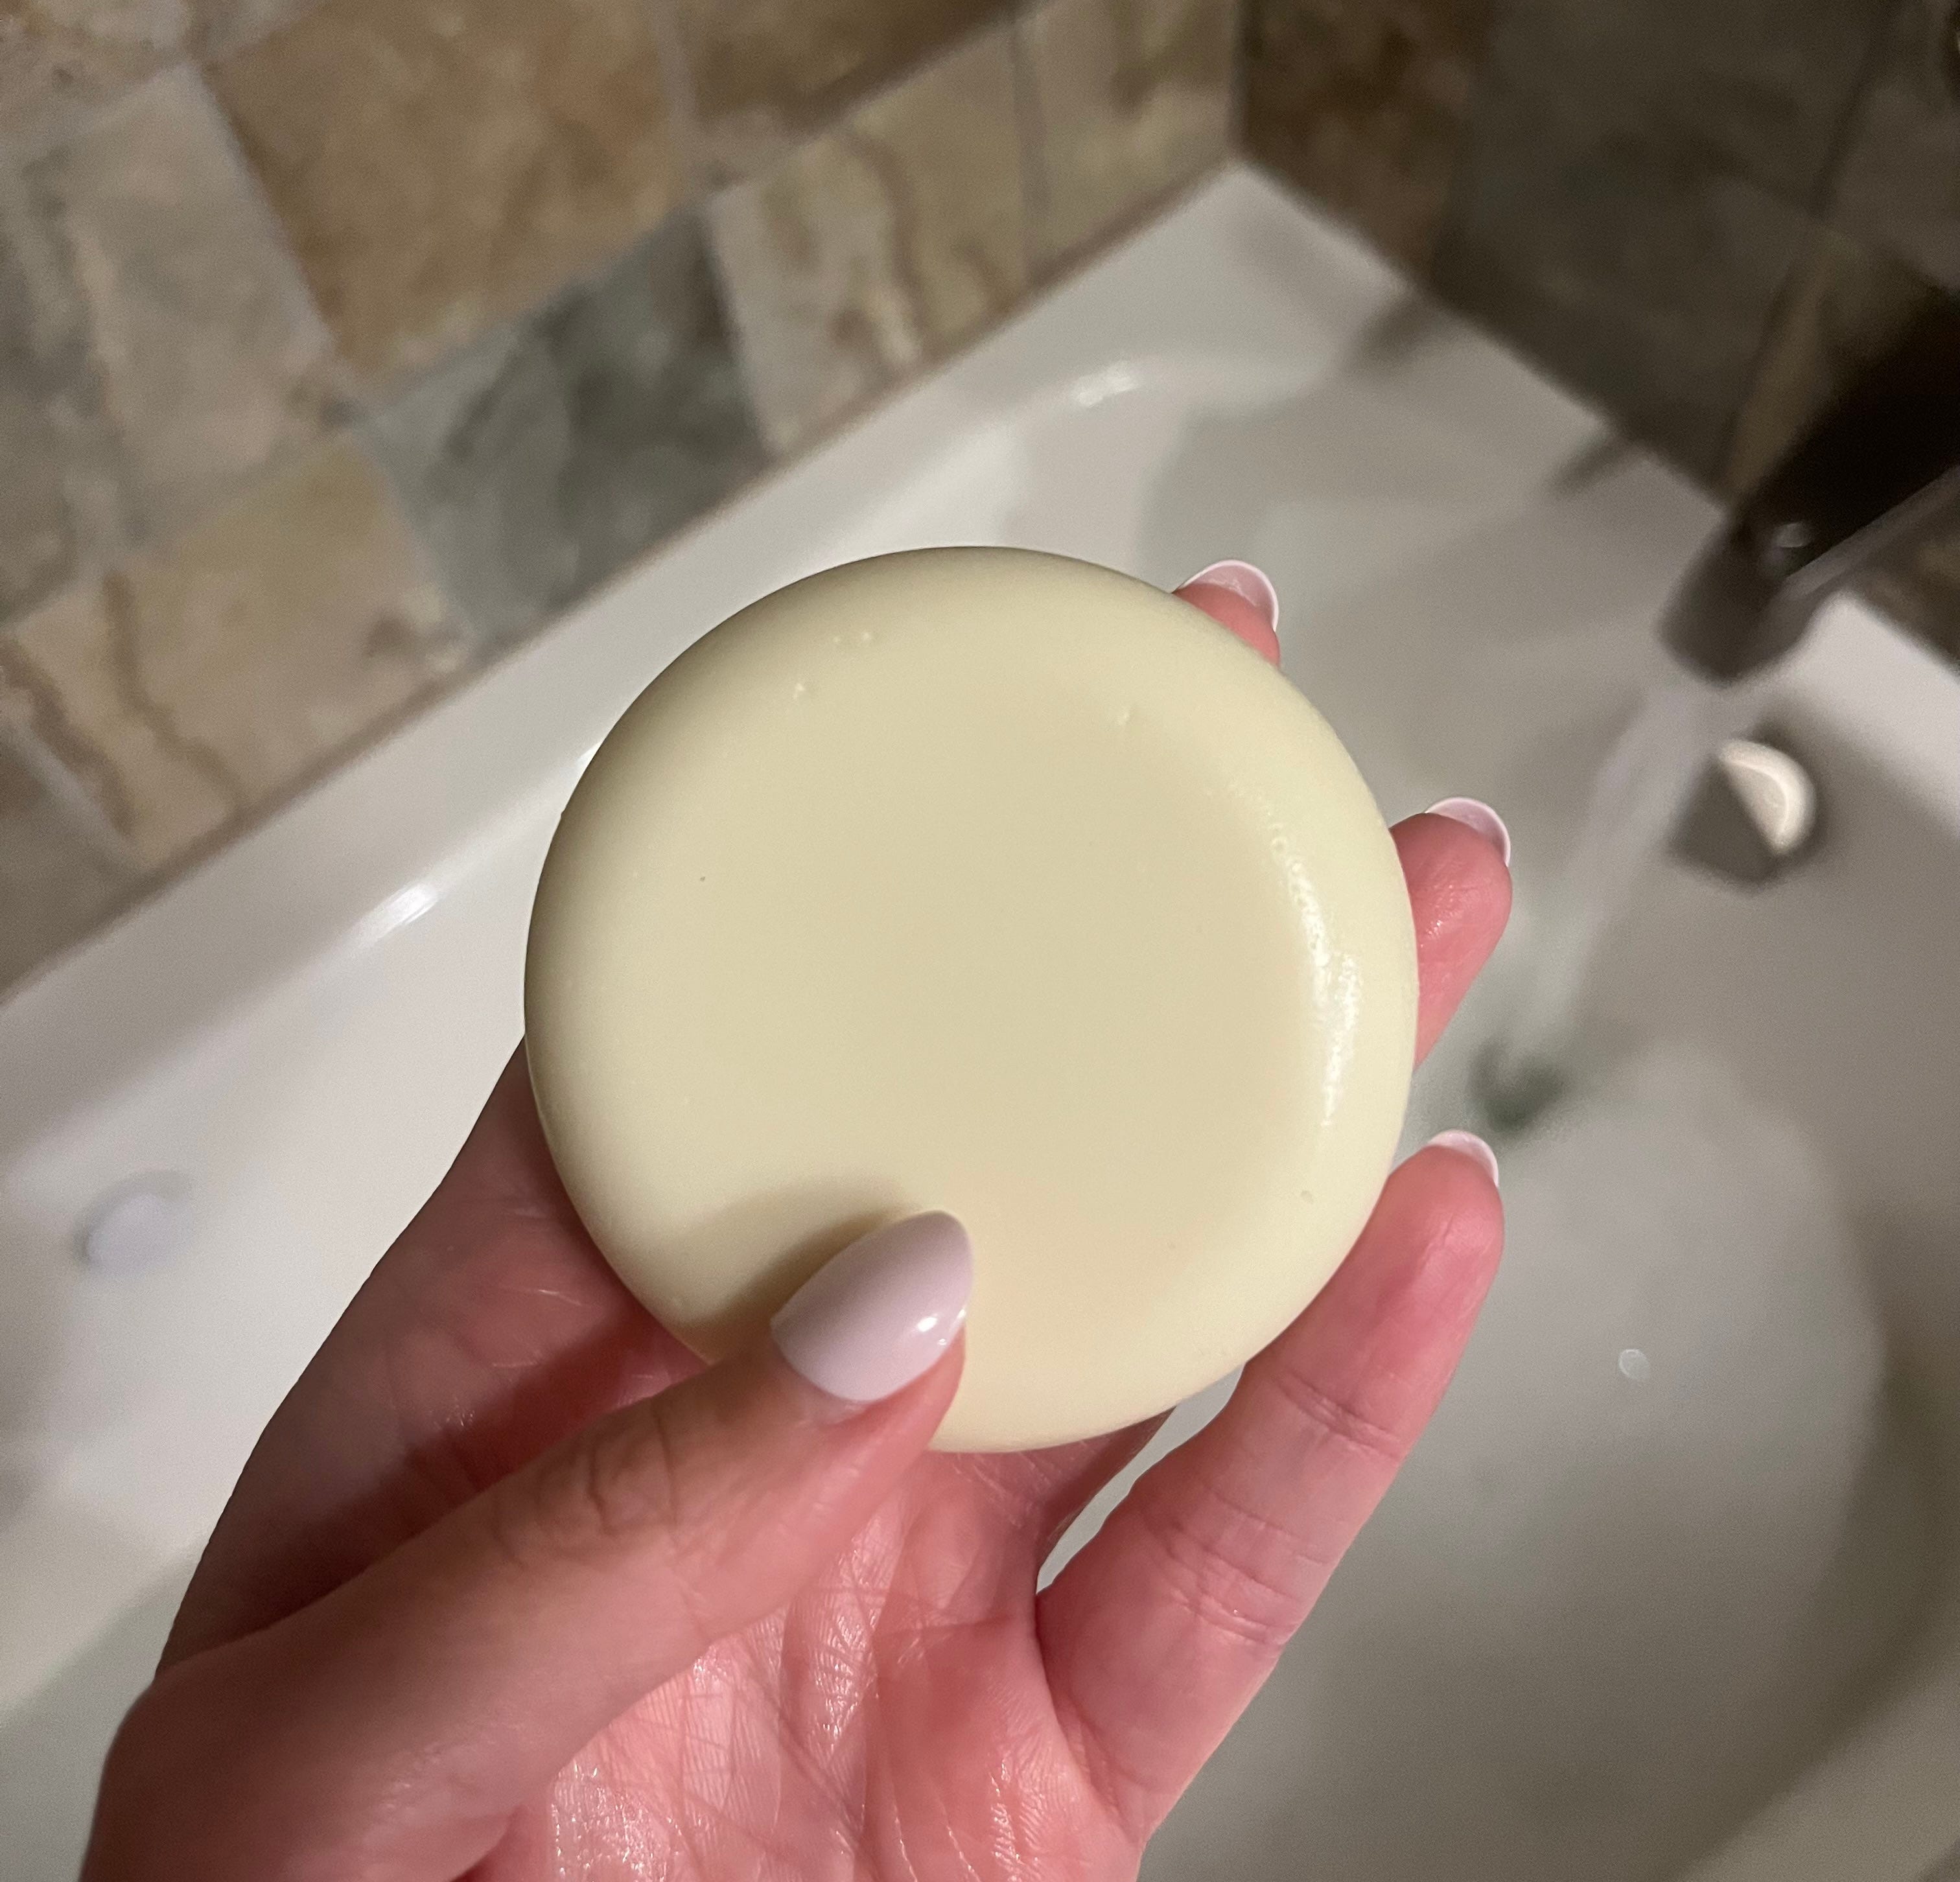
how to make your own cleansing bar
*This facial cleansing bar soap is not a total DIY, but I still know everything that I am putting on my face so it counts in my book.
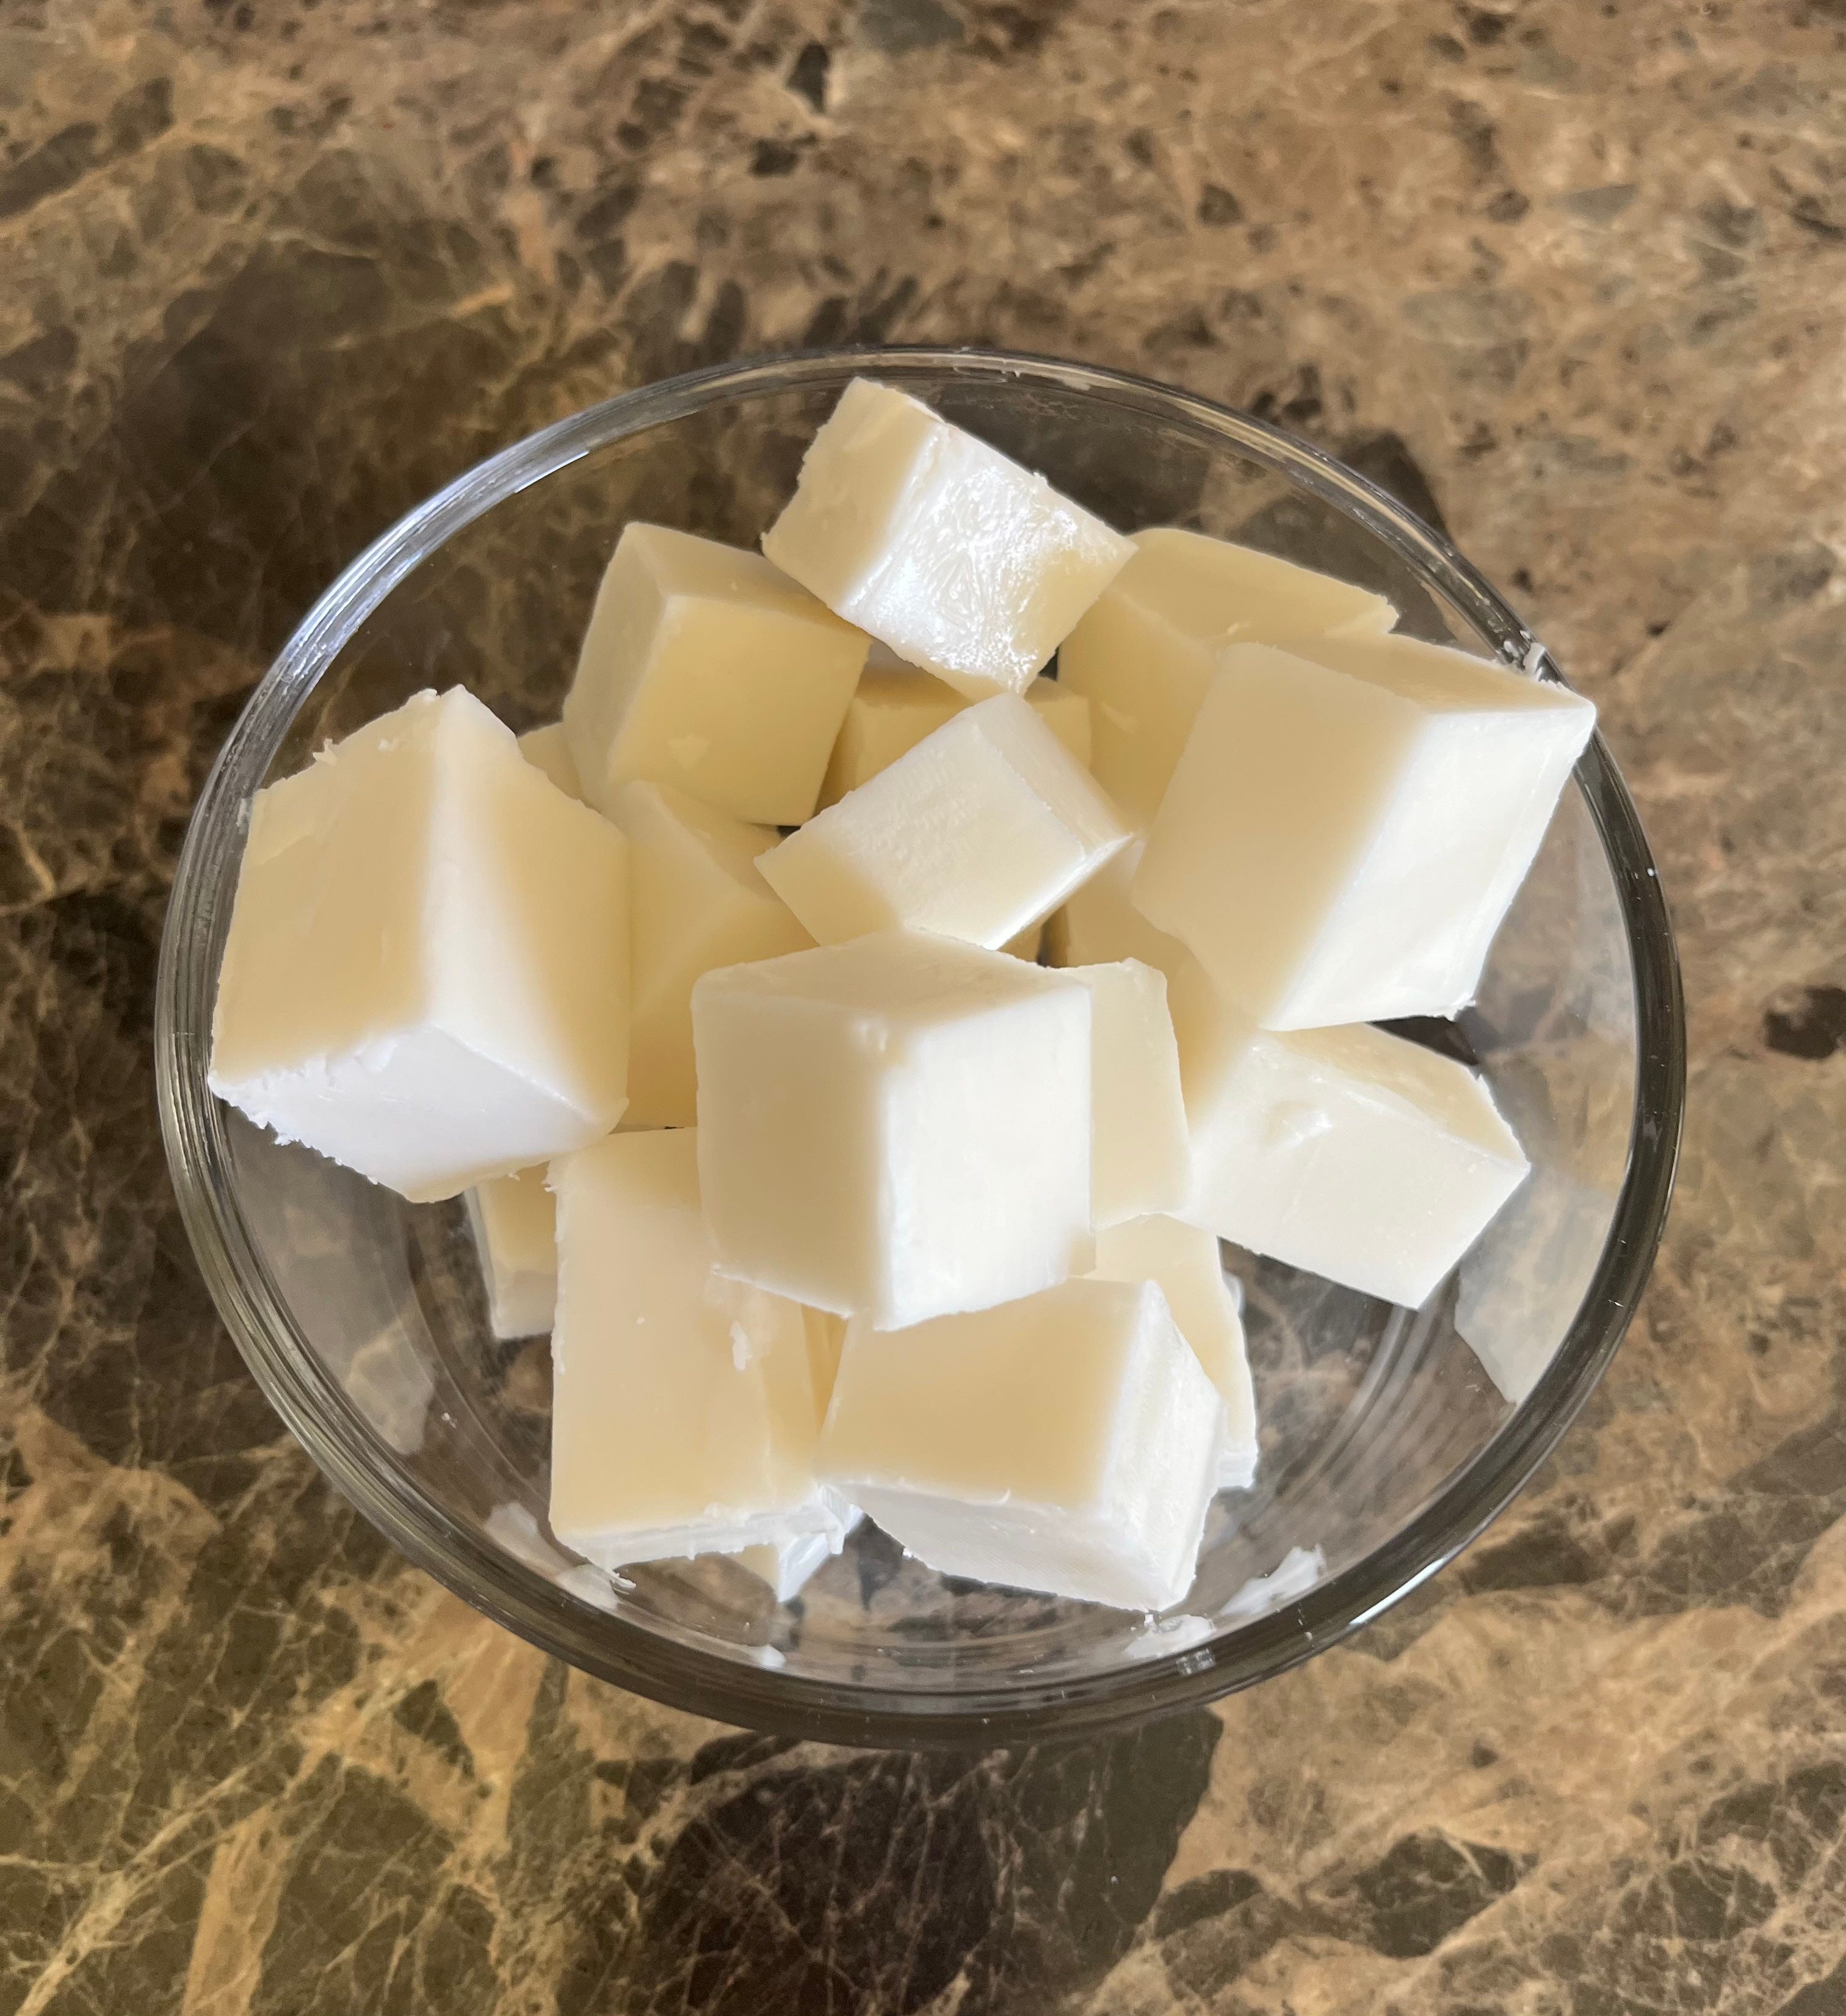
Now you can make your own bar soap completely from scratch, but that involves a whole science experiment that I haven’t tried yet. Maybe one day I will, but for right now I am okay with purchasing a natural melt and pour soap base and adding in any additional oils that I want.
When purchasing a melt and pour soap base, you have options. If you have dry or sensitive skin, opt for gentle and moisturizing soap base such as coconut milk or shea butter. If you have oily or acne prone skin, opt for a soap base that helps regulate oil production and calms inflamed skin such as goat milk, oat milk, or aloe vera. This is the soap base that I used.
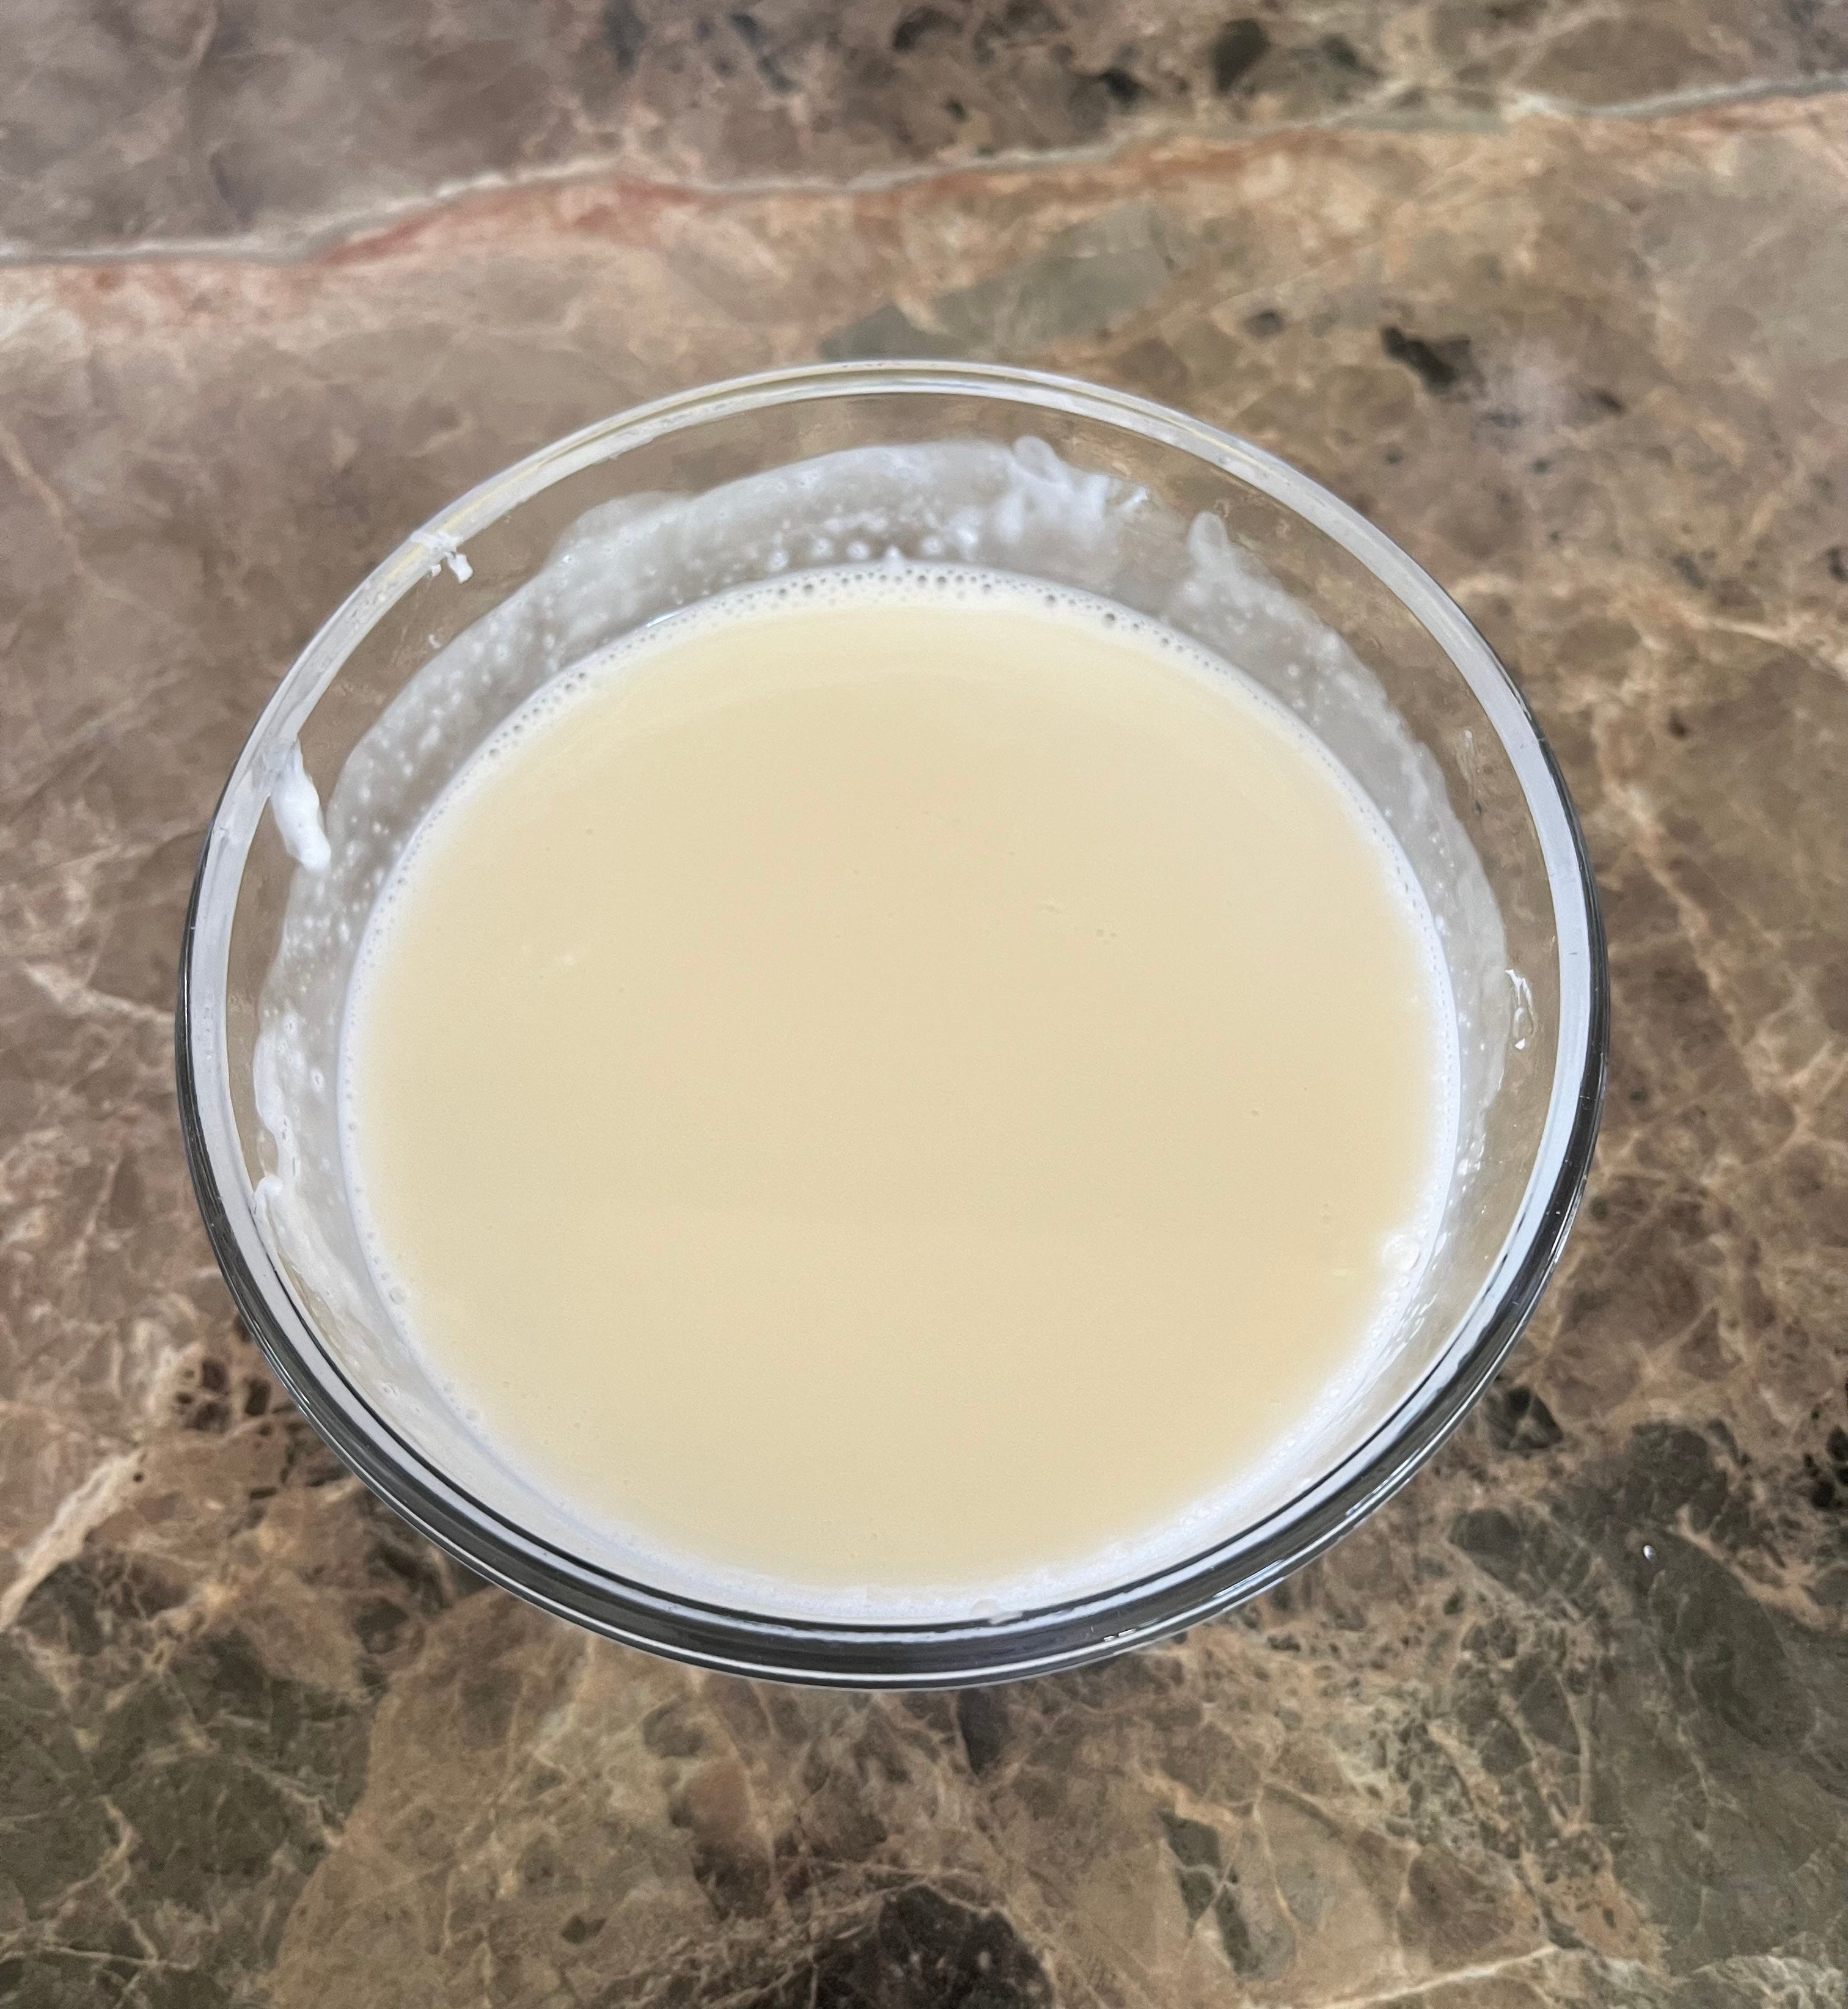
Below are the steps I took in making the cleansing bar. Take a look at the chart above to decided what carrier oil and essential oils you want to add to your heated mixture based on your skin type. For each lb of soap base, use about 1-2 tbsp of oil and 60-80 drops of essential oils.
how to double cleanse
Lightly shake face oil and squeeze 1-2 droppers full into hands.
Rub together and gently massage all over face and neck. Every night I do a quick 3-5 minute lymphatic face massage.
Place a warm wash cloth on my entire face for 20-30 seconds and gently remove the oil.
Lather up cleansing bar and rub onto face and neck.
Use warm water to remove soap. I avoid removing with wash cloth to avoid irritation
Pat face and neck with a clean towel and continue with remaining skincare routine.
*I only double cleanse during my nighttime routine. This is a personal preference. Everyone’s skin is different so if your skin is feeling dry or stripped you can try double cleaning a couple days a week instead of everyday.
let’s talk about the cost
Skincare is EXPENSIVE! Especially if you are trying to find products that don’t have all those yucky extra ingredients. So how does purchasing compare to making your own terms in price?? It’s a whole lot cheaper!! Yes, you need to spend a little extra money up front to stock up on the carrier oils, essential oils, soap base and bottles, but you can make several bottles of face oil with those full bottles of individual oils and several bars of soap from the soap base. And you’ll come to realize if you choose 3-4 different oils that are good for your skin type, you can use them to make even more products besides face oil. Which I will be sharing in the near future. One example I already shared is how you can also use the cleansing bar for your body!!
Let’s chat
Have you ever made your own skincare products at home?
On a scale of 1-10 how would you rate your overall skin health?
On a scale of 1-10 how would you rate your satisfaction with your current skincare products/routine?

If you would like to show your support, please like, comment, share, subscribe, or buy me a coffee (aka book) :)
-Leanna

** Affiliate links were used within this post. Thank you for all the support for reading and shopping through any links if my recommendations helped!
I would love to try and make my own skincare soon, thank you for the recipes. 😊♡
This is so helpful! I have yet to try DIY skincare. Thank you for such a thoughtful & informative piece, Leanna!